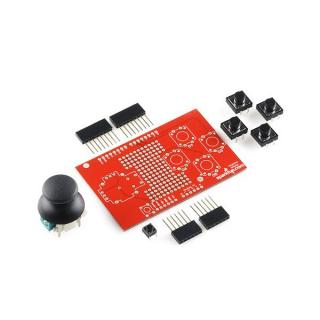
Shield Joystick pentru Arduino. Exemplu: char button0 3, button1 4, button2 5, button3 6; char sel 2; void setup(void) { pinMode(sel, INPUT); Set the Joystick 39;Select 39;button as an input digitalWrite(sel, HIGH); Enable the pull-up resistor on the select button pinMode(button0, INPUT); Set the Joystick button 0 as an input digitalWrite(button0, HIGH); Enable the pull-up resistor on button 0 pinMode(button1, INPUT); Set the Joystick button 1 as an input digitalWrite(button1, HIGH); Enable the pull-up resistor on button 1 pinMode(button2, INPUT); Set the Joystick button 2 as an input digitalWrite(button2, HIGH); Enable the pull-up resistor on button 2 pinMode(button3, INPUT); Set the Joystick button 3 as an input digitalWrite(button3, HIGH); Enable the pull-up resistor on button 3 Serial.begin(9600); Turn on the Serial Port at 9600 bps } void loop(void) { Serial.print(analogRead(0)); Read the position of the joysticks X axis and print it on the serial port. Serial.print( , ); Serial.print(analogRead(1)); Read the position of the joysticks Y axis and print it on the serial port. Serial.print( , ); Serial.print(digitalRead(sel)); Read the value of the select button and print it on the serial port. Serial.print(digitalRead(button0)); Read the value of the button 0 and print it on the serial port. Serial.print(digitalRead(button1)); Read the value of the button 1 and print it on the serial port. Serial.print(digitalRead(button2)); Read the value of the button 2 and print it on the serial port. Serial.println(digitalRead(button3)); Read the value of the button 3 and print it on the serial port. Wait for 100 ms, then go back to the beginning of 39;loop 39; and repeat. delay(100); } Linkuri: Asamblare Tutorial Schema Eagle Exemplu Arduino
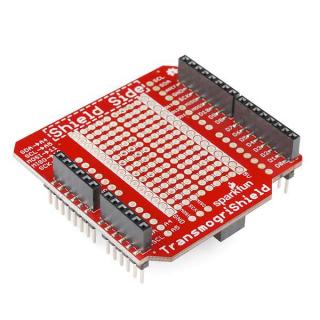
TransmogriShield. Acest shield permite folosirea shield-urilor SPI (SD card shield) si I2C (Touch Shield ) pe placa Arduino Leonardo. Documente: Schema Eagle Files
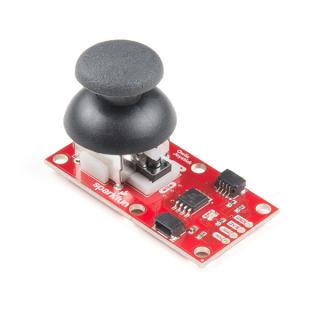
Cu SparkFun joystick cu Qwiic poti adauga un HID controller la proiectul tau. Modulul joystick combina beneficiile unei conexiuni Qwiic cu un joystick analogic ce aminteste de butonul maneta de la Playstation 2 pentru care a devenit una dintre consolele preferatele ale noastre.
Cumpara acum din stoc Kit Joystick 80 l min la 1800 lei. Tehnica Popan 0754 227 605
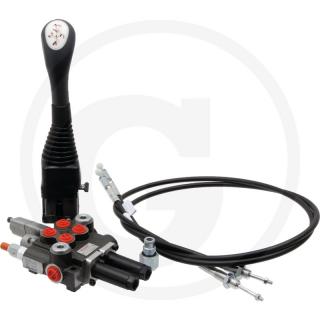
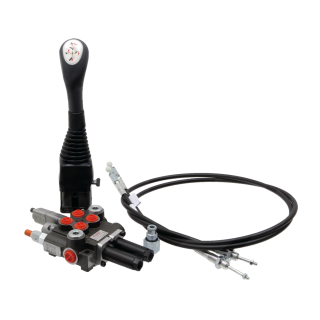
Kit Joystick cu buton Transmisie cu cablu: 2000 Functie piston de comanda: 1x dw, 1x dw cusw Nr. functii on off : 1 (buton) Racord A-B (BSP): 3 8 Racord P (BSP): 1 2 Racord T (BSP): 1 2 Debit nominal (l min): 40 PN (bar): 315 Greutate: 14,22 kg Kit Joystick 87001395
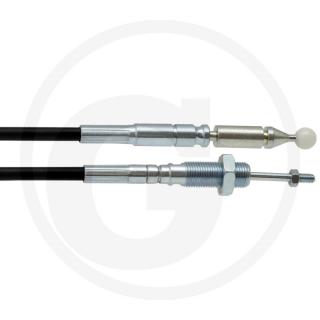
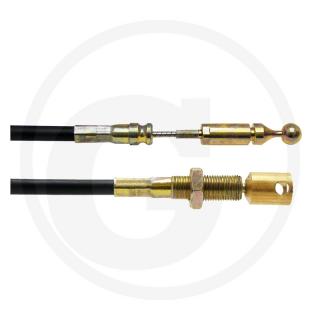
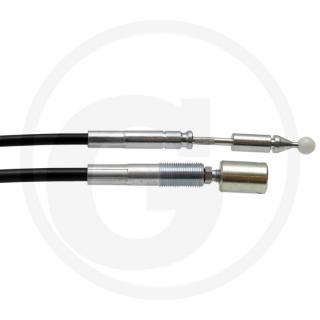
Cumpara acum din stoc Cablu joystick 3m la 260 lei. Tehnica Popan 0754 227 605
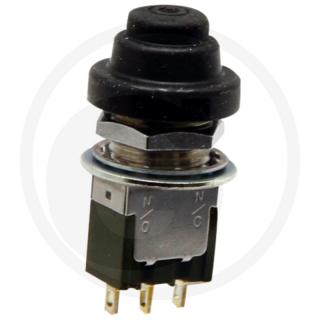
Cumpara acum din stoc Buton joystick la doar 175 de lei. Tehnica Popan 0754 227 605
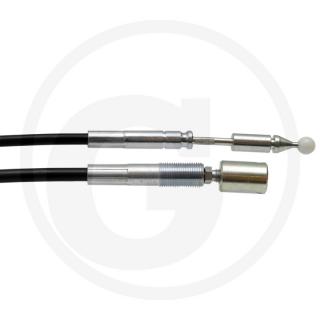
Cumpara acum din stoc Cablu Joystick 3.4 m la 1380 lei. Tehnica Popan 0754 227 605
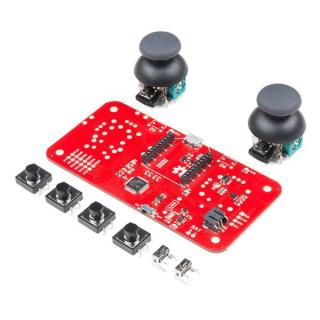
Descriere: Joystick wireless SparkFun Kit ofera o modalitate usoara de a controla si imbunatatii proiectul dvs. Nota: Acest kit trebuie asamblat inainte de utilizare (nu este asamblat), pachetul nu contine xbee si nici baterie. Pregatirea pentru utilizare cu Ghidul Kit Joystick wireless Kit-ul include: 1x Joystick wireless Board 2x Butone tactile 2x Manete Joystick 4x Butoane de apasat - 12mm documente: Schematic Fisiere Ghidul Hookup Fisa cu date (ATSAMD21G18) GitHub
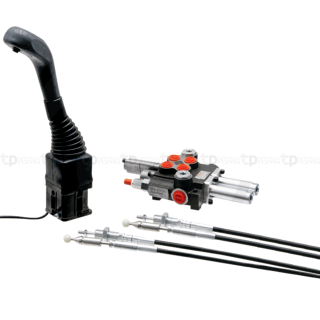
piese tractoare utilaje agricole jucarii bruder jucarie cadou copii craciun tehnica popan baia mare Kit Joystick 87000935
Cumpara acum din stoc Cablu joystick 2000 mm la 800 lei. Tehnica Popan 0754 227 605
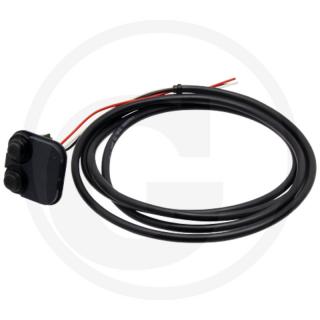
Placa cu 2 butoane Joystick Panou frontal complet cu 2 comutatoare 87002325
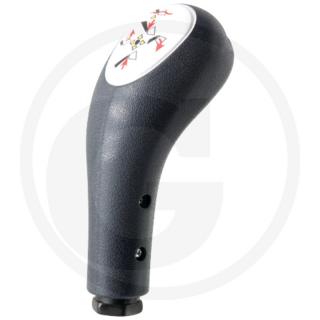
Cumpara acum din stoc Maner joystick fara buton la 220 lei. Tehnica Popan 0754 227 605
Cumpara acum din stoc Cablu joystick Mailleux 1800 mm la doar 680 lei. Tehnica Popan 0754 227 605
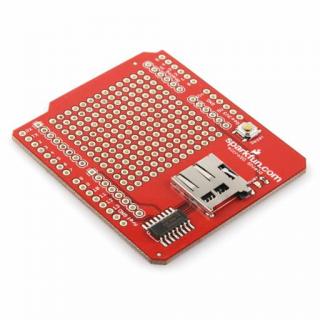
microSD Shield Shield-ul vine fara conectorii Arduino Specificatii: Interfata SPI Include un logic level converter Documente: microSD Exemplu de conectare Schema Eagle Files FAT16 Library GitHub
XBee Shield Shield-ul nu vine cu cipul Xbee Shield-ul nu vine cu pinii de conectare la Arduino. Caracteristici: Se monteaza direct pe Arduino Pinii DIN si DOUT se pot conecta fie la UART-ul placii Arduino sau la orice pini digitali de pe Arduino (D2 si D3 implicit) Regulator 3.3V Buton reset Documente: Schema Eagle Files Ghid GitHub (Fisiere de proiectare)